3.2 Install (Windows)
This section describes how to install/uninstall SpeeDBee Synapse (Windows). The described operations are based on Windows 11. Depending on the OS versions, the method to start Windows applications may be varied. Perform the operation that matches your OS version.
About OS Version
Windows 10 support will end on 2025/10/14, so using Windows 11 is recommended.
3.2.1 Execution environment#
The system requirements for this package are as follows.
- OS: Windows 10 (64bit) version 22 H2 or later, Windows 11 (64bit) version 23 H2 or later
- Architecture: amd64 (x86_64)
For environments other than those listed above, please refer to the manual for the relevant environment.
3.2.2 Installing and Updating#
Follow the instructions below to install SpeeDBee Synapse on your PC. The same procedure is used when updating.
Preparing for Installation
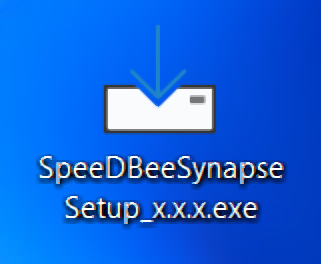
Use the installer below. Place the file on the desktop of the target Windows PC beforehand.
- SpeeDBeeSynapseSetup_x.x.x.exe (The x.x.x part depends on the version.)
Installation and Startup
-
Run the installer of SpeeDBee Synapse.
- You must have Windows administrator privileges to run the installer.
-
You may see a warning when Microsoft Defender is enabled. Make sure the publisher is "SALTYSTER.Inc" and click Go.

-
Upon reviewing the Software License Agreement, click Accept and Next.

-
A selection of additional tasks appears. Click Next.

- If you do not need the i-Trigger function, uncheck the checkbox.
- Uncheck any unnecessary icons.
-
Confirm the displayed information, and then execute Install.

-
The installation proceeds.

-
When the installation is complete, click Finish.

You may be prompted to restart your PC after the installation. In that case, please restart your computer.
Access from browser
-
You can open the SpeeDBee Synapse window by accessing the following URL from your browser.
-
http://{hostname or device IP address}:8120Example)
http://192.168.1.3:8120About PCs accessing SpeeDBee Synapse
From the PC on which it was installed or a PC that is part of the same network as the target PC, use a browser (Google Chrome/Microsoft Edge) to access the URL of SpeeDBee Synapse.
To access by host name, you need to set up an environment that allows the PC to access by host name.
Note: The operation has been confirmed with some iPad terminals (using Safari), and basic operations are possible.After the Update
If SpeeDBee Synapse is updated while the screen is open and operations are continued without reloading, the system may not function correctly. Please reload the screen before performing any operations after the update. If you experience issues such as newly added screen items not appearing after the update, please clear your browser’s cache.
-
-
Because it is through http, a security warning may appear on the screen when you access it for the first time.
Access via https
You can also access SpeeDBee Synapse via https. For details, see "HTTP/HTTPS Communication".
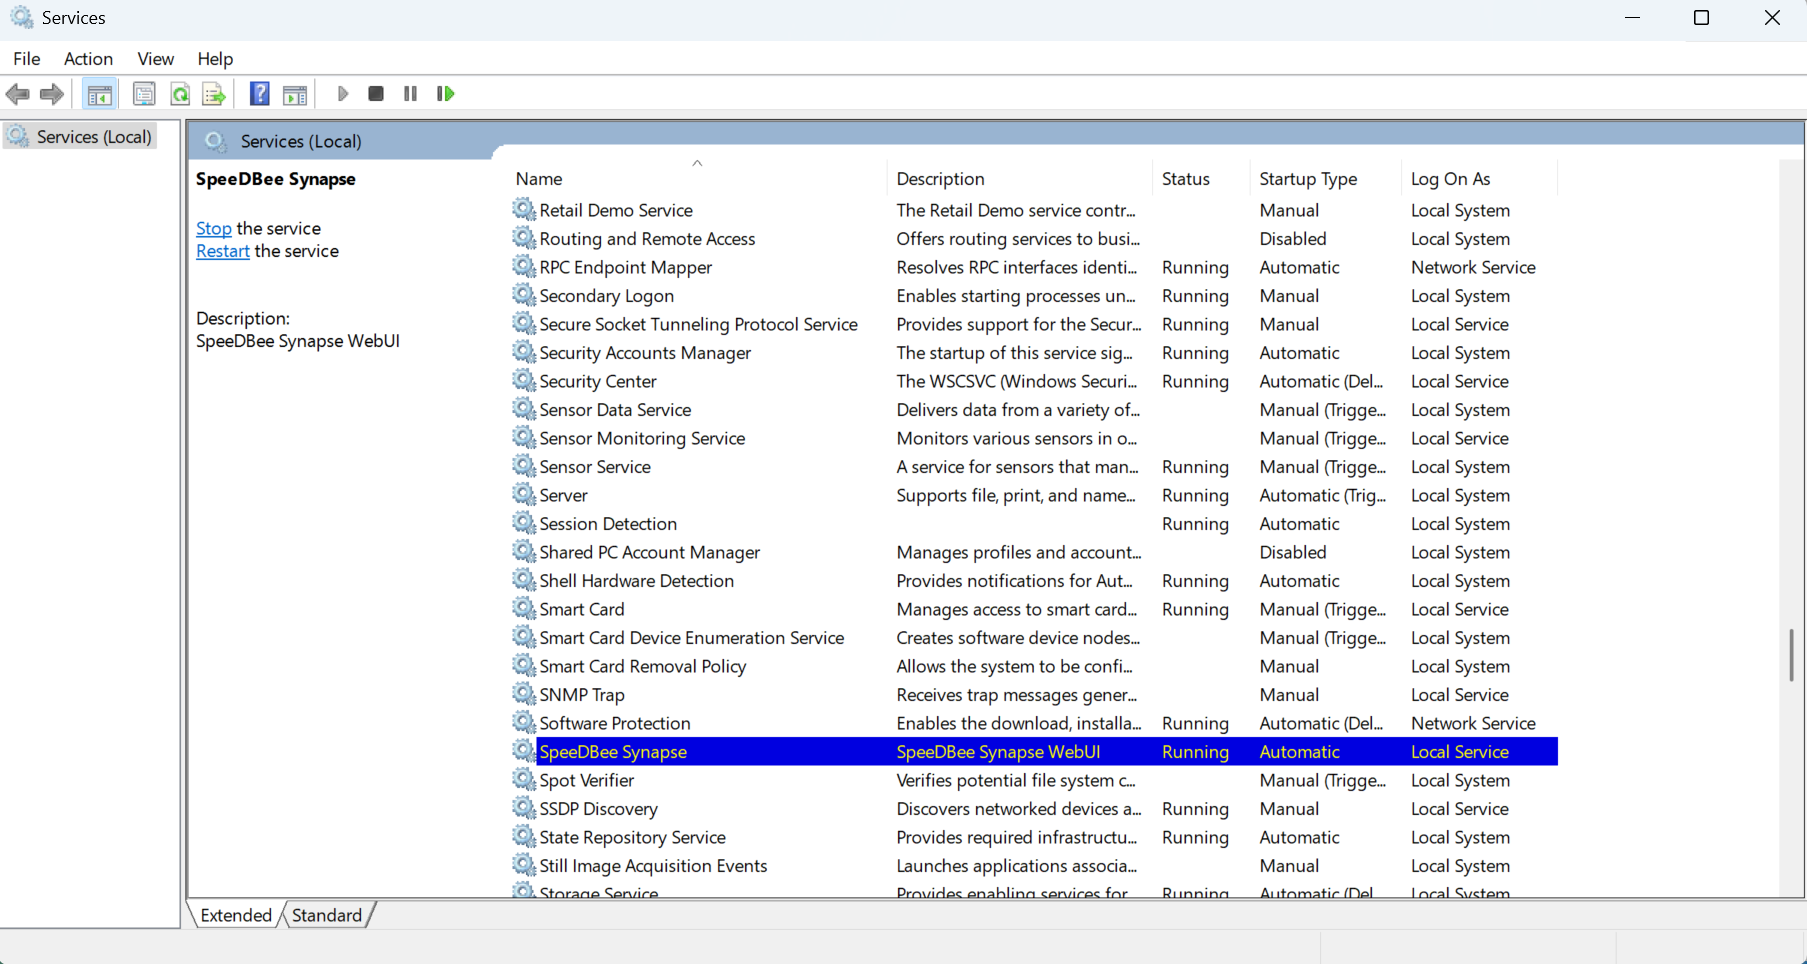
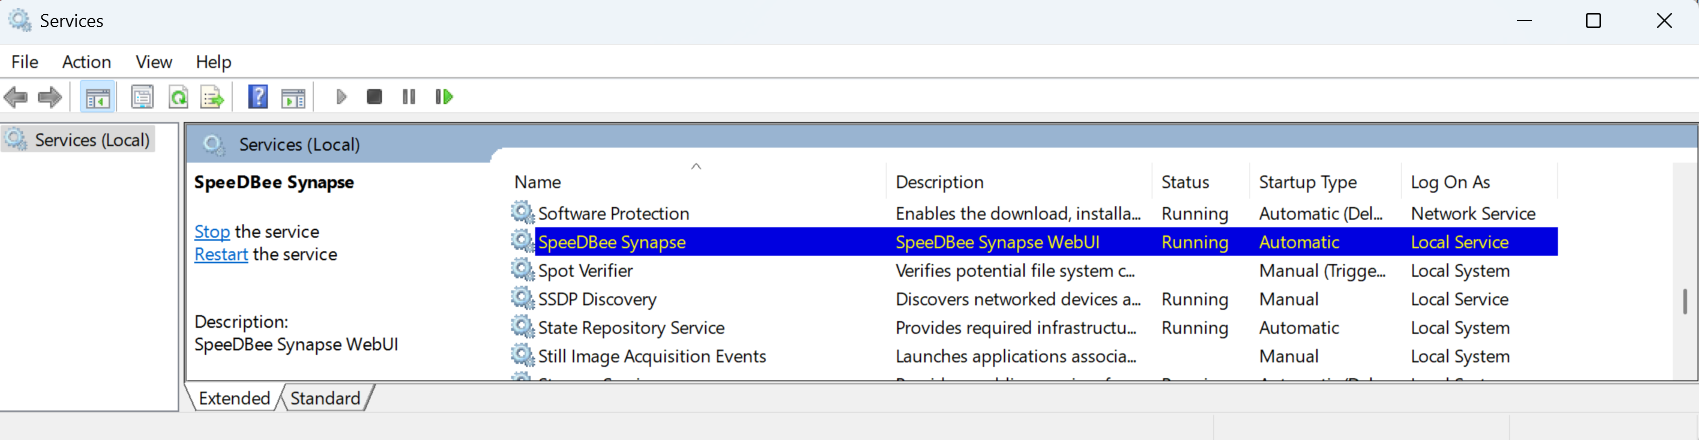
3.2.3 Control for SpeeDBee Synapse#
SpeeDBee Synapse is registered as a Windows service when you install it. Therefore, each control operates from a Windows service.
-
Type "service" into the search field at the bottom of the desktop and launch the service from the search results.
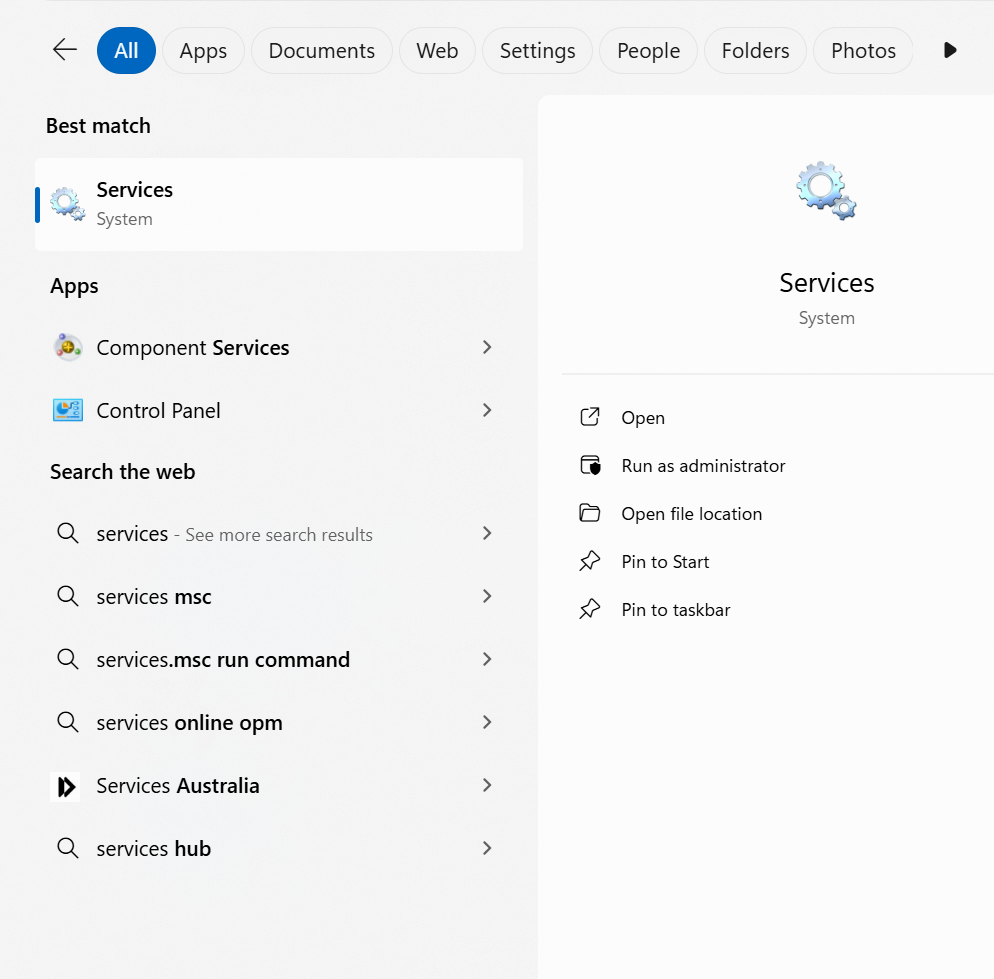
-
Select "SpeeDBee Synapse" to perform various controls.
3.2.3.1 Start#
-
Select SpeeDBee Synapse and click Start Service.
-
The service starts. If it has started successfully, the status shows Running.
3.2.3.2 Restart#
-
Select SpeeDBee Synapse and click Restart Service.
-
The service restarts.
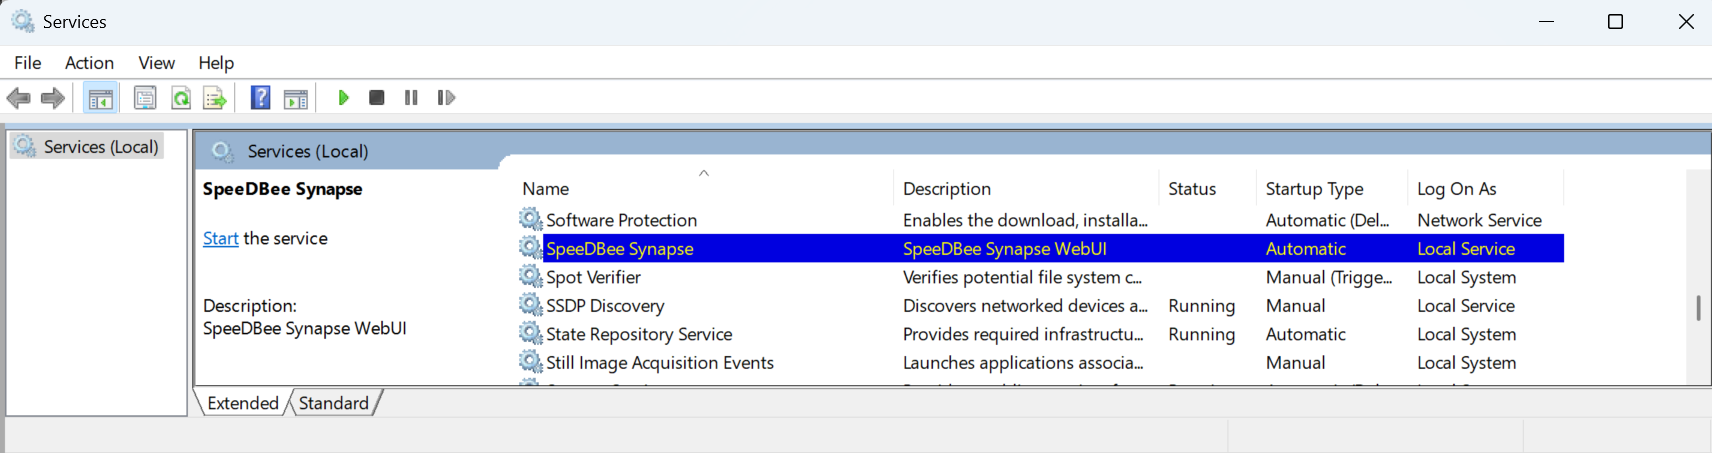
3.2.3.3 Stop#
-
Select SpeeDBee Synapse and click Stop Service.
-
The service stops.
3.2.3.4 Enabling Autostart#
-
Select SpeeDBee Synapse, then click Properties from the right-click menu.
-
Set Startup Type to Automatic, and click OK.
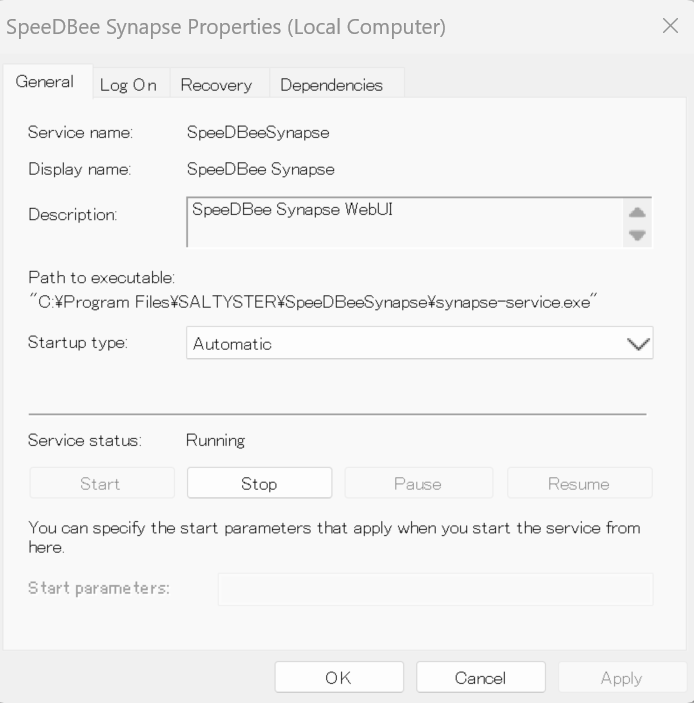
-
With this setting, the SpeeDBee Synapse service will start automatically when the PC is started.
3.2.3.5 Disabling Automatic Startup#
-
Select SpeeDBee Synapse, then click Properties from the right-click menu.
-
Set Startup Type to Disabled, and click OK.
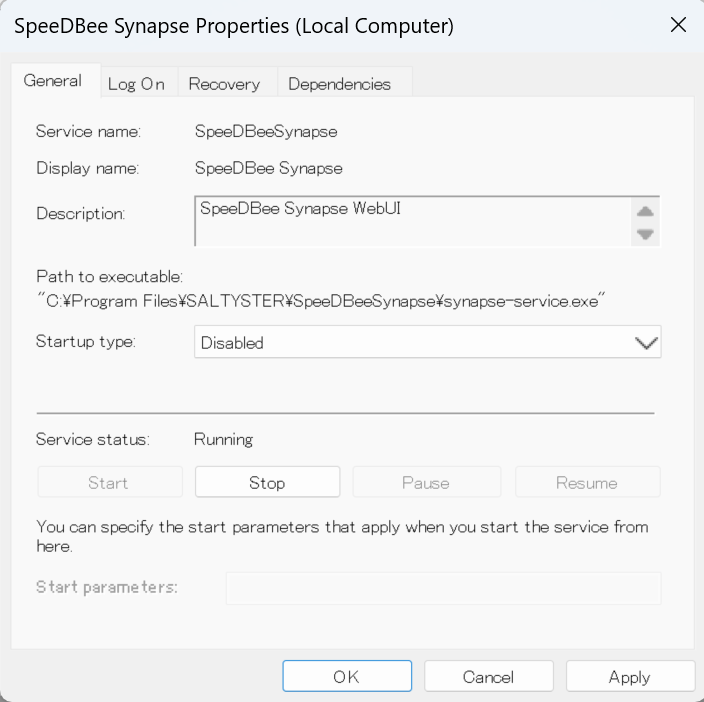
-
When this setting is applied, the SpeeDBee Synapse service does not start when the PC is started. If you want to start it, you need to start it manually.
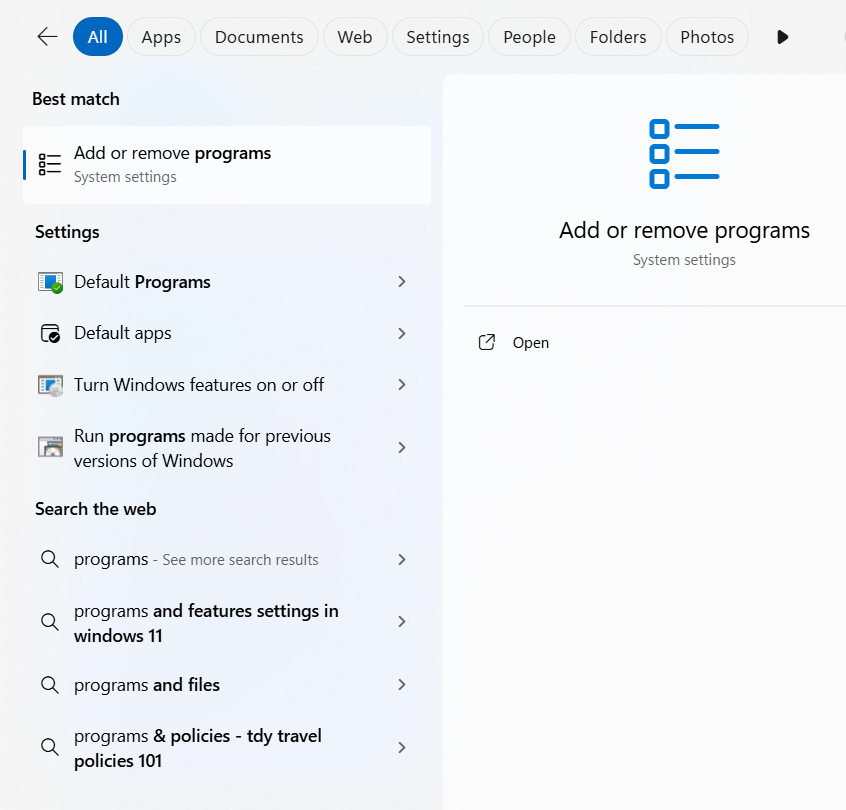
3.2.4 Uninstall#
You can uninstall SpeeDBee Synapse from the device by following the instructions below.
-
Type “Add or Remove Programs” into the search field at the bottom of the desktop, and then launch “Add or Remove Programs” from the search results.
-
Enter "SpeeDBee Synapse" into the search field of installed applications, and click “Uninstall” from the menu of SpeeDBee Synapse from the search results.


- You must have Windows administrator privileges to perform the uninstall.
-
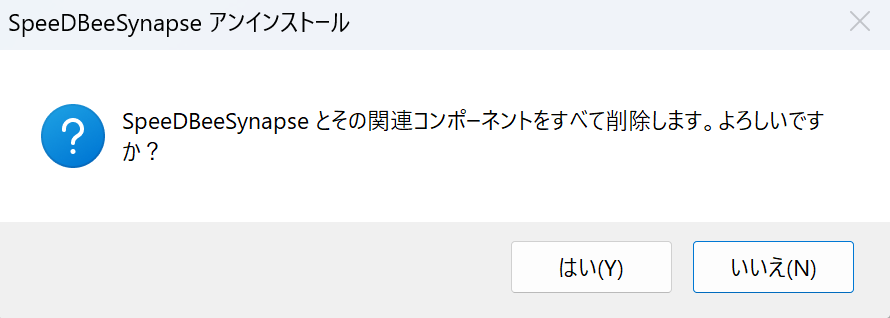
When the confirmation message is prompted, click Yes.
-
Then check for the following message. Click Yes to delete all data (information stored in ProgramData). To keep the data, click "No".

-
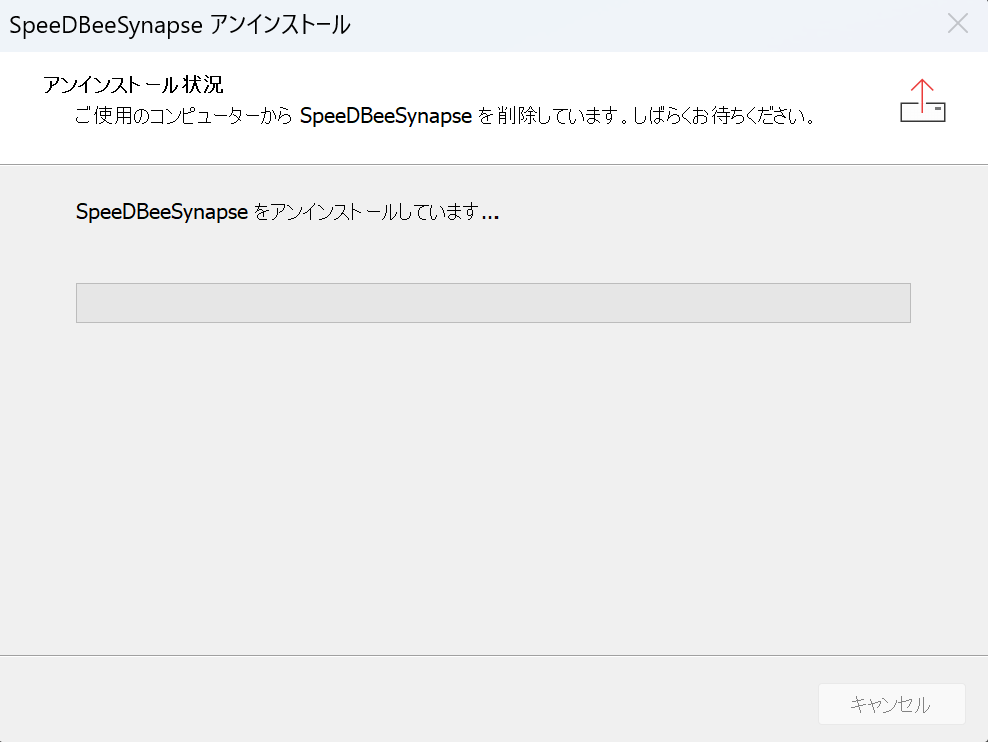
The uninstall process is performed.
-
Upon completion, click OK. This completes the uninstallation of SpeeDBee Synapse.
