5.1.2 Creating Python custom components
This section explains how to create a custom components using Python.
5.1.2.1 Prerequisite Knowledge#
As a prerequisite for developing custom components, you should have a good understanding of the Python language tutorials, as well as with class definitions, method definitions, and class inheritance. For entry-level information, see the official Python documentation below.
Official Python documentation: https://docs.python.org/3/
5.1.2.2 Sample Custom Components#
To demonstrate how to implement custom components in Python, simple custom components are provided as samples.
Download sample custom components
Alternatively, if you have installed SpeeDBee Synapse, the sample custom components are already installed in the following locations:
$ ls /usr/local/speedbeesynapse/share/sample_component_py/
sin_and_random.py  read_and_log.py
5.1.2.2.1 Sample Description#
This chapter explains the following sample as an example of custom component.
-
sin_and_random.pyThis component creates the following two columns for output ports and continues to output data.
Column name Data type Description sin DOUBLE Ten 1 Hz SIN wave values are registered every second. The period of SIN wave can be changed by a parameter. rand INT32 A random value in the range [0, 100) is registered once every second. -
read_and_log.pyThis component receives data from the input port and outputs it to string columns and logs.
5.1.2.2.2 Execution#
A component base can be added by registering the *.py file directly from the screen, provided that there are no errors. For instructions on how to register files, see Using Custom Components.
Once registered, you can generate component instances by dragging and dropping just as you would a normal component.
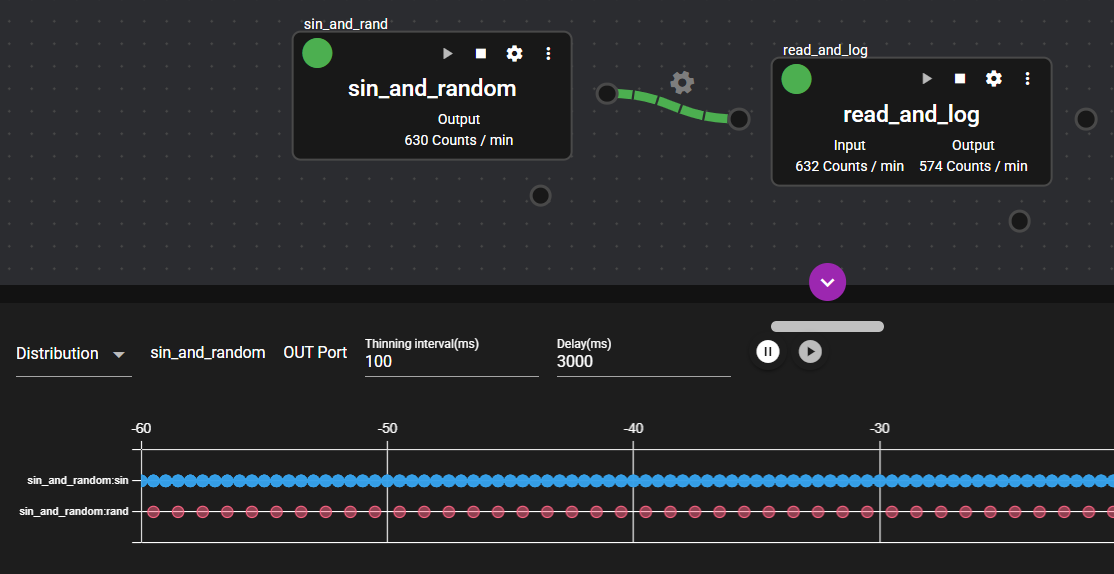
You can concatenate sin_and_random and read_and_log and execute them to display their output columns.
The following monitors the output ports of sin_and_random. To see a change in value, change the thinning interval to 100 milliseconds.
5.1.2.3 Custom Component Implementation Details#
The following sections describe the implementation of custom components using as examples source codes that use the sample custom components sin_and_random and read_and_log.
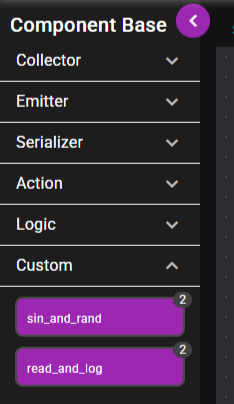
5.1.2.3.1 Custom Component Class Definition#
With custom components in Python, you can define the name, identity, and runtime processing of their component base by defining a new class that inherits from the HiveComponentBase class as follows:
from speedbeesynapse.component.base import HiveComponentBase, HiveComponentInfo, DataType
  :

@HiveComponentInfo(uuid='00000000-0000-0000-0000-000000000000', name='Component Name', inports=0, outports=1)
class HiveComponent(HiveComponentBase):
    def main(self, param):
        :
The class name must be HiveComponent.
You must also wrap the component's information in the @HiveComponentInfo decorator.
The information defined here enables you to work with component base information on the screen.
Refer to the following explanation to set the members.
| Member name | Definition information | Description |
|---|---|---|
uuid |
UUID | The UUID is used to identify the component. Generate a random ID and set it here. |
name |
Component name | Set the name for the component. This name will be displayed on the screen. Use a name that is easy to understand and that can be distinguished from other components. |
tag |
Tag | This adds a tag to the component. Use "collector," "emitter," "serializer," "action," or "logic" to specify under which component base to place the component. If this member is omitted, the component is placed under Custom. |
outports |
Number of output ports | Set the number of output ports for this component. To pass data to an input port of another component, set this to 1. |
inports |
Number of input ports | Set the number of input ports for this component. To receive data from an output port of another component, set this to 1. |
Always generate random IDs for UUIDs. If you use the same UUID as another component, you may not be able to use either component.
5.1.2.3.2 Lifecycle of HiveComponent Class#
The HiveComponent class defined here is a component base.
There is no need to create an instance from this class in the Python script file.
Instead, when you create a component instance by dragging and dropping a component base on the screen, an instance of the HiveComponent class defined here is automatically created.
When a component instance is deleted on the screen, the instance of this class is destroyed.
Therefore, if you define a __init__() method or __del__() method in the HiveComponent class, the method will be executed when the component instance is generated or deleted on the screen.
@HiveComponentInfo(uuid='00000000-0000-0000-0000-000000000000', name='Sample Component', inports=0, outports=0)
class HiveComponent(HiveComponentBase):
    def __init__(self):
        # called at creating component instance
        pass
    def __del__(self):
        # called at deleting component instance
        pass
    def premain(self, param):
        # called before main()
        pass
    def postmain(self, param):
        # called after main() finished
        pass
    def main(self, param):
        # called at starting component instance
        while self.is_runnable():
          pass
    def notify_stop(self):
        # called before the component received stop request from system
        pass
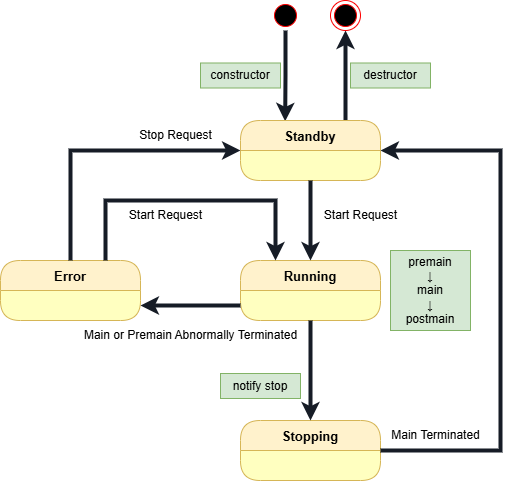
There are other methods that are called by manipulating components from the screen. Refer to the figure and table below for such methods and when they are called.
| Callback function | Description |
|---|---|
__init__ |
This function is called when the component instance is generated. |
__del__ |
This function is called when the component instance is destroyed. |
premain |
This function is called before the "main" function when starting the component. |
main |
This function implements the main processing of the component. This function must continue to loop without exiting until the component is requested to terminate. |
postmain |
This function is called when a component exits, just after the "main" function ends. |
notify_stop |
This function is executed when a component is requested to stop during the execution of the "main" function. Note that this method is called during the execution of main(), so it runs on a separate thread. |
The main function must always be defined as it is the body of the component's processing.
The following section explains how to implement the main function in the sample program.
5.1.2.3.3 Creating Output Port Columns and Registering Data (sin_and_random)#
The following is the main processing of the custom component sample sin_and_random.
The procedure for outputting data is explained based on this operation.
def main(self, param):
     :
    count = 0

    # Create columns.
    self.sin = self.out_port1.Column('sin', DataType.DOUBLE)
    self.rand = self.out_port1.Column('rand', DataType.INT32)

    # Repeat at 100msec intervals.
    for [ts, skip] in self.interval_iteration(100000000):

        # Compute sin wave value and insert it into 'sin' column.
        val = math.sin(2*math.pi*sin_hz*count/10)
        self.sin.insert(val, ts)

        # Insert random value into 'rand' column only once in 10.
        if count % 10 == 0:
            self.rand.insert(random.randrange(0, 100), ts)

        count += 1
-
Creating a column
First, a column is created.
self.sin = self.out_port1.Column('sin', DataType.DOUBLE)
self.rand = self.out_port1.Column('rand', DataType.INT32)
This component uses the double-precision floating point column
sinand the 32-bit integer columnrand. TheColumn()method inself.out_port1is used to specify the column name, data type, etc. and create the column object. Store the return value in a variable, because you will use it later to populate the column.All data output by the component must be registered in this generated column.
-
Repeating periodic operation
To periodically register data, the for statement is used to implement repeated operation.
for [ts, skip] in self.interval_iteration(100000000):
   :
The loop condition calls
self.interval_iteration(), which is a generator that returns repeated values at the time interval specified in the argument. The code inside the for statement is then executed at regular intervals.The time interval specified in the argument is in nanosecond units, so in this example the loop runs once every 0.1 seconds (100 million nanoseconds).
This for statement loop does not end unless you stop the component from the screen.
-
Registering data in the column
Data is registered in the column in an iterative process.
val = math.sin(2*math.pi*sin_hz*count/10)
self.sin.insert(val, ts)

if count % 10 == 0:
    self.rand.insert(random.randrange(0, 100), ts)
Data can be registered by calling the
insert()method of a previously created column object. Specify the value to be registered in the first argument and the time at which the value is to be registered in the second argument. If the second argument is omitted, the current time is used as default.Maximum size that can be registered with insert
The maximum size of data that can be registered with insert() is 512 bytes (STRING is 511 bytes, not including null). Registering a value that exceeds the maximum size will throw an exception.
5.1.2.3.4 Reading Data from Input Port (read_and_log)#
The following is the main processing of the custom component sample read_and_log.
Using this sample, the procedure for receiving data output by another component is explained below.
def main(self, param):
    # Create a column for logging received data.
    self.logclm = self.out_port1.Column('log', DataType.STRING)

    # Logging column information received from 'in_port1'.
    columns = self.in_port1.get_columns()
    for column in columns:
        self.log.info(column)

    # Start receving column values from 'in_port1'.
    with self.in_port1.ContinuousReader(start=self.get_timestamp()) as reader:
        # Loop until the component received 'stop' request.
        while self.is_runnable():
            # Get a group of records of column data (called as window_data).
            window_data = reader.read()
            if not window_data:
                # window_data may be None.
                self.log.info("no data yet")
                continue

            # Process all records in a window_data one by one.
            for record in window_data.records:
                # Convert timestamp as a string.
                ts = datetime.datetime.fromtimestamp(record.timestamp / 1000000000)

                # Process all column's value in a record one by one.
                for columnvalue in record.data:
                    if columnvalue.value:
                        # Make string from columnvalue, logging it and insert it into the column
                        logmsg = f"{columnvalue.column}[{str(ts)}]: {columnvalue.value}"
                        self.log.info(logmsg)
                        self.logclm.insert(logmsg)
                    else:
                        pass # ignore None
The log column created at the beginning is intended to output information as a string.
It is not required in cases where data is merely received from another component, so it is omitted.
-
Getting input port column information
The
get_columns()method inin_port1allows you to retrieve column information for data being output by another component connected to the component's input port.columns = self.in_port1.get_columns() for column in columns: self.log.info(column)The above example outputs logs of the retrieved columns using an iteration loop.
Changing the connection to a component or stopping a connected component changes the column information that can be retrieved with
get_columns(). If you constantly need the latest information, retrieve it periodically and check the information. -
Starting the
ContinuousReaderloopIf you want to continuously retrieve data from the input port, use a
ContinuousReaderobject. You can use it in the with clause as shown below and then callread()repeatedly to retrieve the data arriving at the input port.with self.in_port1.ContinuousReader(start=self.get_timestamp()) as reader: while self.is_runnable(): window_data = reader.read() if not window_data: self.log.info("no data yet") continue :The return value of
read()can be None, in which case it should be skipped. -
Reading the records of retrieved data
The
read()method ofContinuousReaderreturns aHiveWindowDataobject. This object is a collection of data coming into the input port for a certain period of time. As shown in the figure below, it consists of multiple records that contain data from the same time. One record contains data from multiple columns.
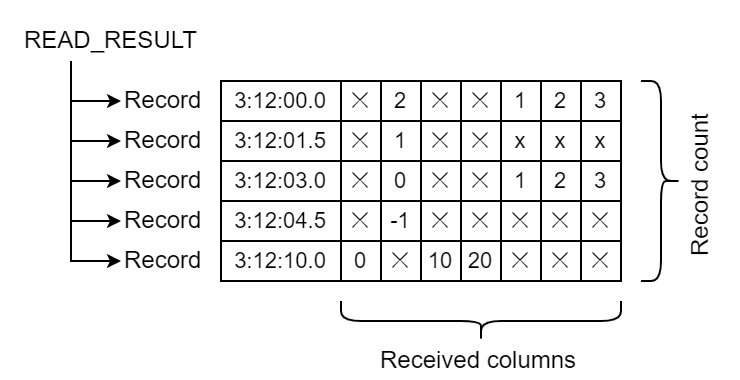
This enables access to all the data with a double for loop statement:
for record in window_data.records:
    ts = datetime.datetime.fromtimestamp(record.timestamp / 1000000000)

    for columnvalue in record.data:
        if columnvalue.value:
            logmsg = f"{columnvalue.column}[{str(ts)}]: {columnvalue.value}"
            self.log.info(logmsg)
            self.logclm.insert(logmsg)
        else:
            pass # ignore None
See the
HiveRecordDataObjects for details of data.
5.1.2.3.5 Log Output#
Custom components can log at any time using self.log methods as shown below.
See HiveLog for details.
self.log.info('create columns')
self.log.info(f'insert value={val} into {column_name}')
self.log.error('invalid data received')
The output log can be downloaded from the screen. See Various Logs.
5.1.2.3.6 Component Parameters#
When you generate a component instance from the screen, you can set the component's runtime parameters as its settings. By changing the parameter settings for each instance, you can vary the behavior of a component even when the component base implementation remains the same.
When specifying the parameter type on the screen, STRING or JSON can be selected as parameter type. Choose a type that is easy to handle during implementation.
| Parameter type | Description |
|---|---|
| STRING | You can set any character string. It can be referenced as str type in the second argument of each method of the component. |
| JSON | You can set a JSON string. It can be referenced as dict type in the second argument of each method of the component. |
The parameters set for the component instance can be acquired as the second argument of the premain(), main(), or postmain() method of the HiveComponent class you defined.
@HiveComponentInfo(uuid='00000000-0000-0000-0000-000000000000', name='Sample Component', inports=0, outports=0)
class HiveComponent(HiveComponentBase):
    def premain(self, param):
        // use 'param' here.
        pass
    def postmain(self, param):
        // use 'param' here.
        pass
    def main(self, param):
        // use 'param' here.
        while ...
How these methods are used depends on the implementer of the custom component.
For example, sin_and_random uses a numeric string as a parameter for the waveform frequency of the sin column.
5.1.2.4 API for Custom Components#
Many API functions are provided in addition to the functions introduced in this section. For more information, see the Custom Component Python-API Reference in the appendix.
5.1.2.5 Using Custom Components#
This section explains how to use custom components created in SpeeDBee Synapse.
5.1.2.5.1 Add#
You can register a created custom component in SpeeDBee Synapse using the following procedure.
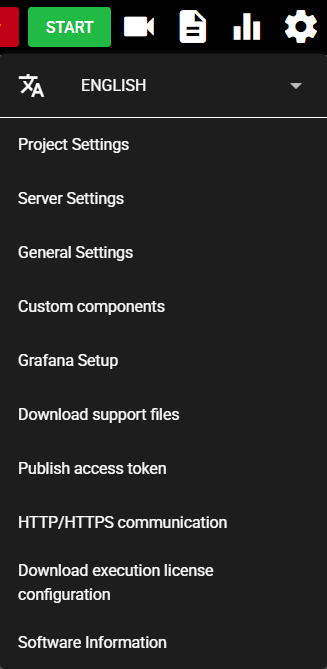
-
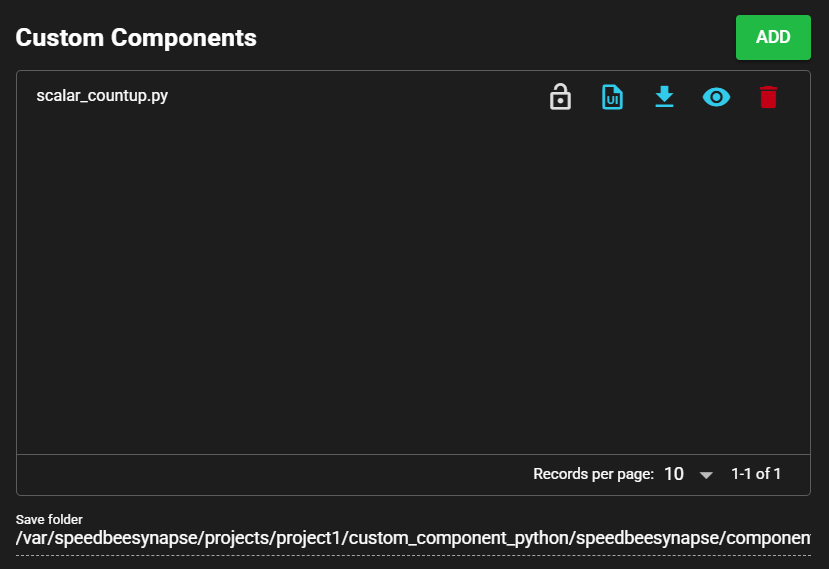
Press the Setting Menu icon and choose [Custom Components].
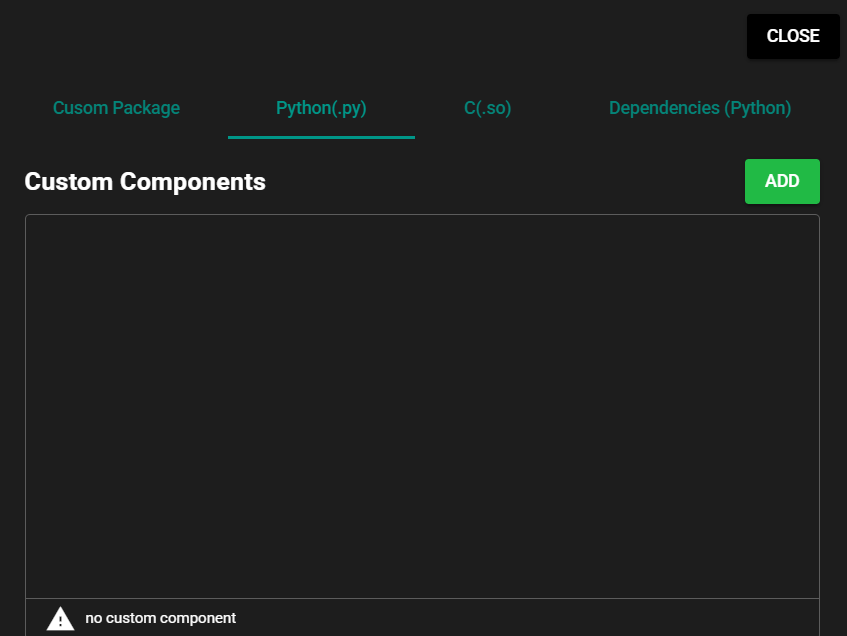
-
Select [Python(.py)] in the tab at the top of the dialog.

-
Press [Add] to register the file for the custom component.
-
Press [Close].
-
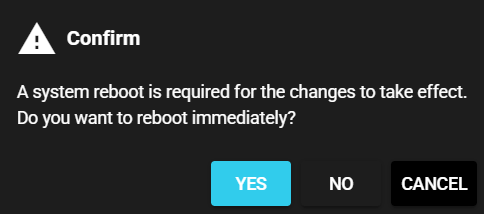
Select [Yes] in the confirmation dialog to restart the system to apply the changes.
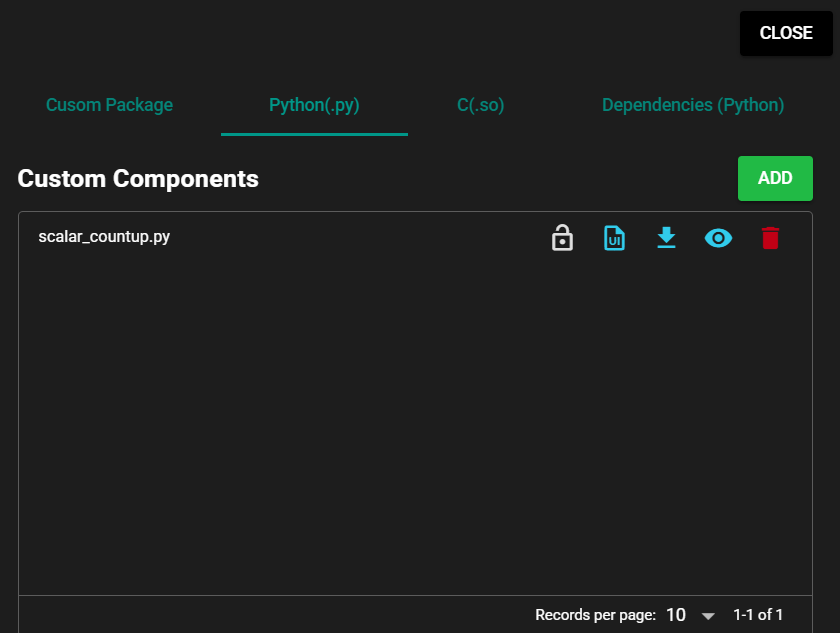
-
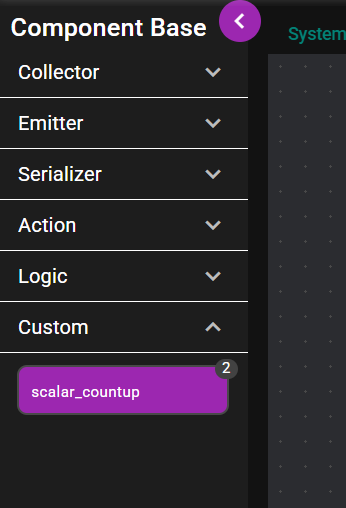
The left menu shows the registered custom component.
File Save Location
Registered custom component files are saved in the following directory:
/var/speedbeesynapse/custom_component_python/speedbeesynapse/component/custom
The save directory is displayed in the [Save Location] screen item.
Python version
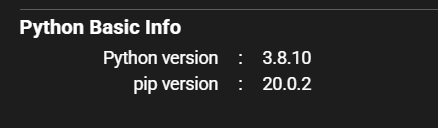
The version of Python that runs the custom component is displayed in [Python version] under [Python Basic Info].
Python file name
Custom components are treated as modules in SpeeDBee Synapse, and the file name is equivalent to the module name. Therefore, "-" in a file name prevents it from being handled correctly.
In line with Python's naming conventions, use short file names with all lowercase, using _ as separators.
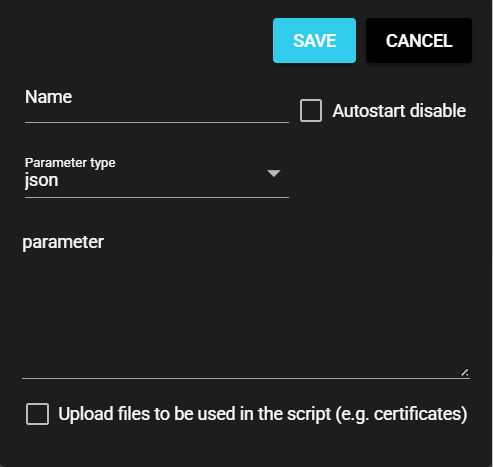
5.1.2.5.2 Settings Screen#
The items on the custom component settings screen are as follows.
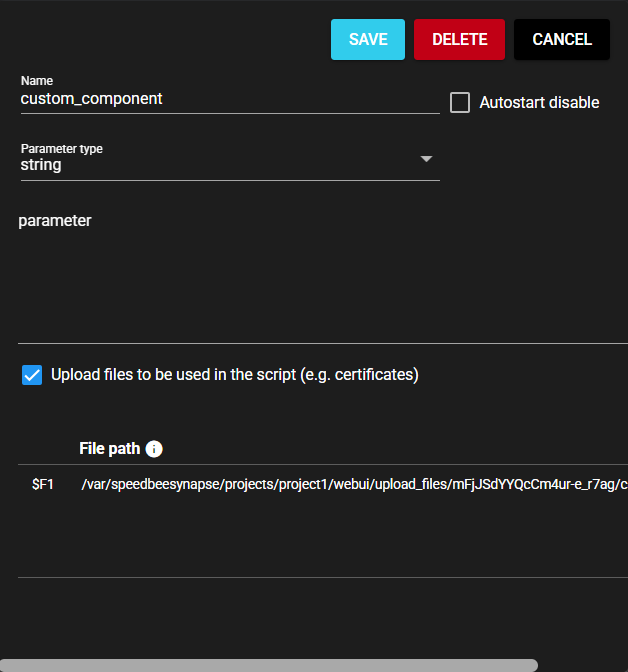
| Item | Description |
|---|---|
| Name | Enter a name for the component. Note: Must be different from any other component name. |
| Autostart disable | Set to ON to disable the component’s Autostart. |
| Parameter type | Select a parameter type from the following: ・STRING: String ・JSON: JSON string |
| Parameter | Enter component parameters. |
| Upload files to be used in the script (e.g. certificates) | Set to ON to upload a file, such as a certificate, for use in custom component processing. |
| Add file | Press this button to upload the file to be used in the script. Note: Newly added files are uploaded when you save the component settings. |
| File path | Save location for uploaded files Note: When using a file path in a parameter, you can use a variable. For more information, click the icon to the right of [File Path] in the title. |
You can change the parameter input area of the settings screen to display the screen items defined by the user. For more information, see Creating Custom UI.
5.1.2.5.3 Delete#
You can delete a registered custom component from SpeeDBee Synapse using the following procedure.
-
Press the Setting Menu icon and choose [Custom Components].
-
Select [Python(.py)] in the tab at the top of the dialog.
-
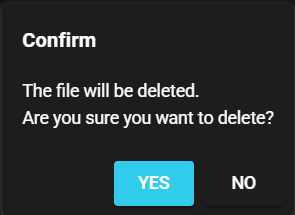
Press the trash can icon (Delete) for the custom component.
-
Select [Yes] in the confirmation dialog.
-
The custom component is deleted.
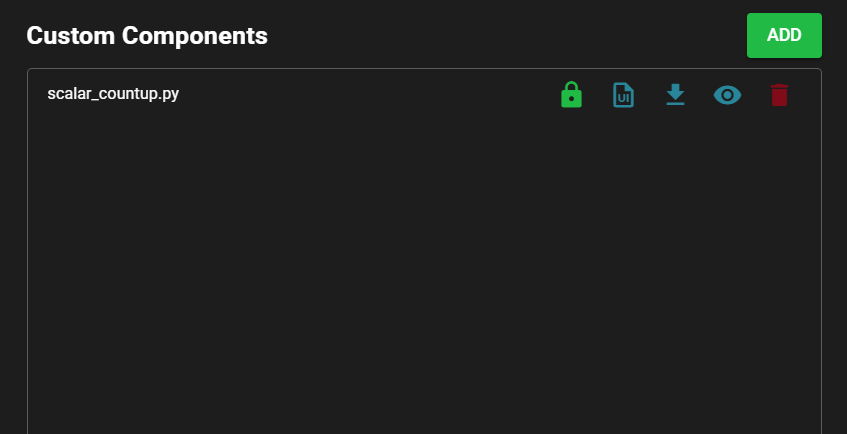
5.1.2.5.4 Display#
You can display the information of a registered custom component using the following procedure.
-
Press the Setting Menu icon and choose [Custom Components].
-
Select [Python(.py)] in the tab at the top of the dialog.
-
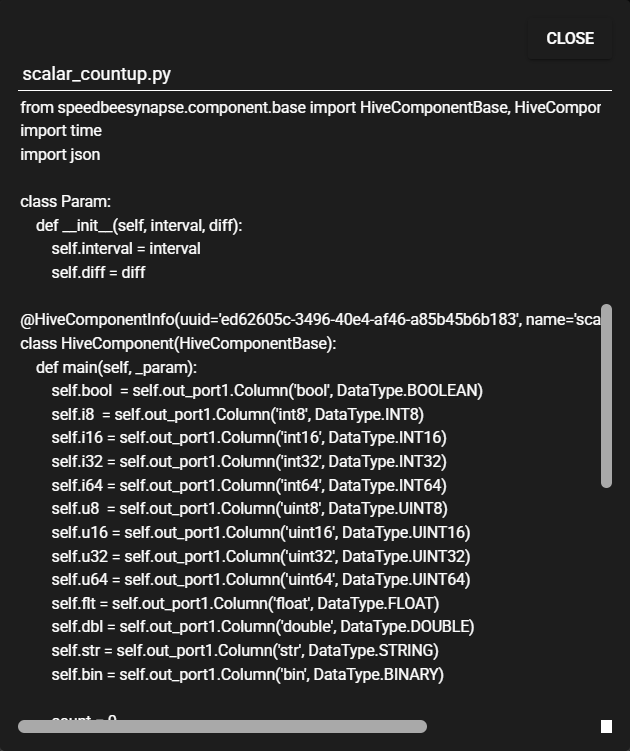
Press the visibility icon (Display) for the custom component.
-
The source code of the custom component is displayed on the screen.
5.1.2.5.5 Download#
You can download a registered custom component as follows:
-
Press the Setting Menu icon and choose [Custom Components].
-
Select [Python(.py)] in the tab at the top of the dialog.
-
Press the download icon (Get) for the custom component.
-
The custom component file is downloaded.
5.1.2.5.6 Protect#
Registered components can be protected.
Protected components are not subject to the following operations and therefore are protected from unintended updates:
You can protect a custom component using the following procedure.
-
Press the Setting Menu icon and choose [Custom Components].
-
Select [Python(.py)] in the tab at the top of the dialog.
-
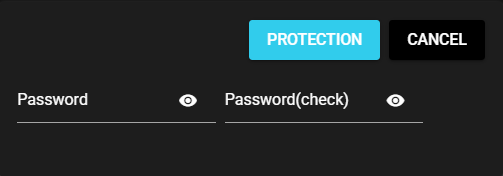
Press the key icon (Protect) for the custom component.
-
Enter the password required to remove protection and press [Protection].
Warning
- The password is stored in a undecodable format and cannot be reset until protection is removed.
- If you forget the password for protection, the protected custom component becomes inoperable.
Be careful when handling passwords.
-
The custom component is now protected.
5.1.2.5.7 Unprotect#
Follow the procedure below to remove the protection from a protected custom component:
-
Press the Setting Menu icon and choose [Custom Components].
-
Select [Python(.py)] in the tab at the top of the dialog.
-
Press the key icon (Remove protection) for the custom component.
-
Enter the password set when applying protection and press [Remove protection].
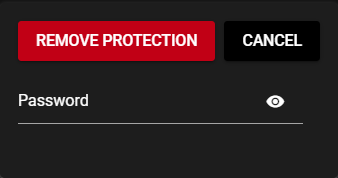
-
The protection is removed from the custom component.
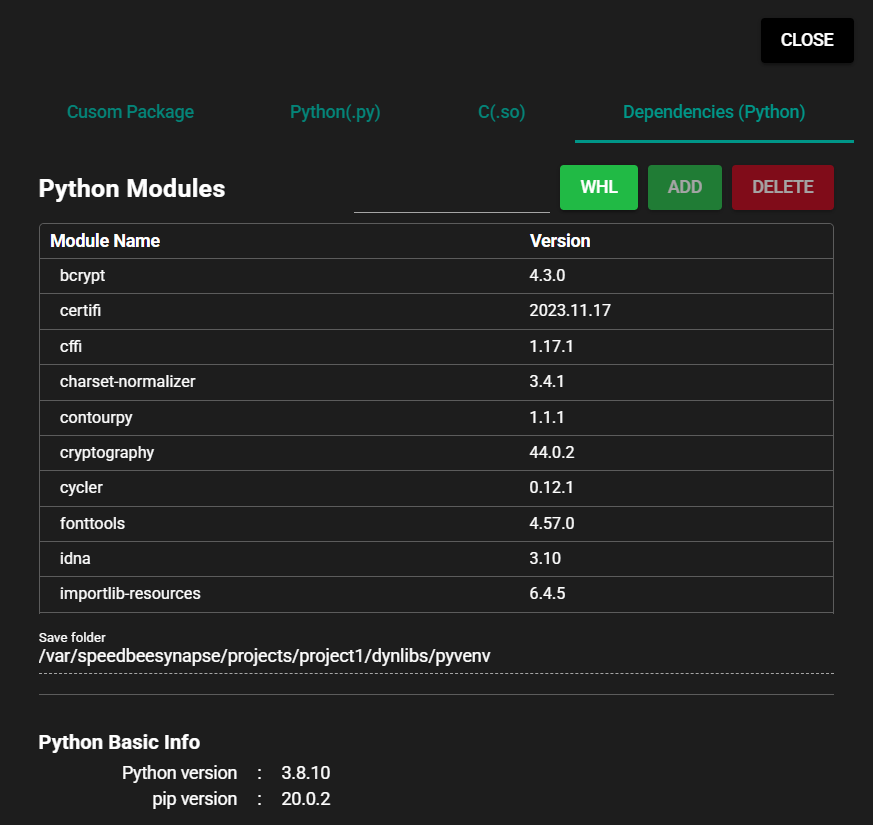
5.1.2.5.8 Adding External Libraries#
You can add an external library used by a custom component to SpeeDBee Synapse using the following procedure.
-
Press the Setting Menu icon and choose [Custom Components].
-
Select [Dependencies (Python)] in the tab at the top of the dialog.
-
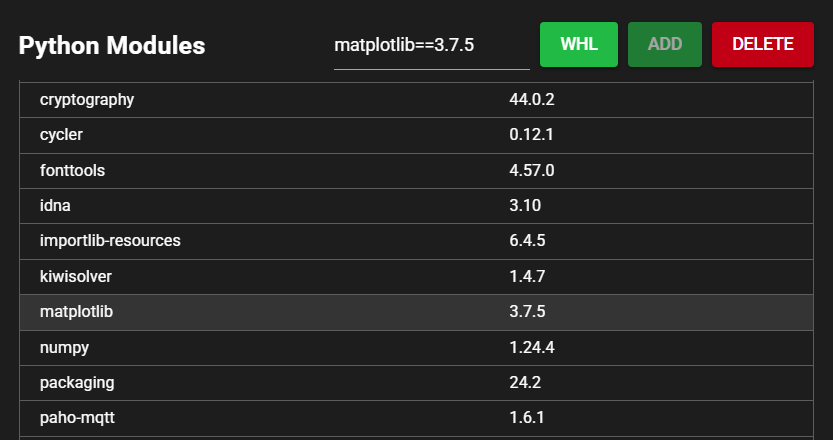
In the Python module field, enter the name of the library you want to register.
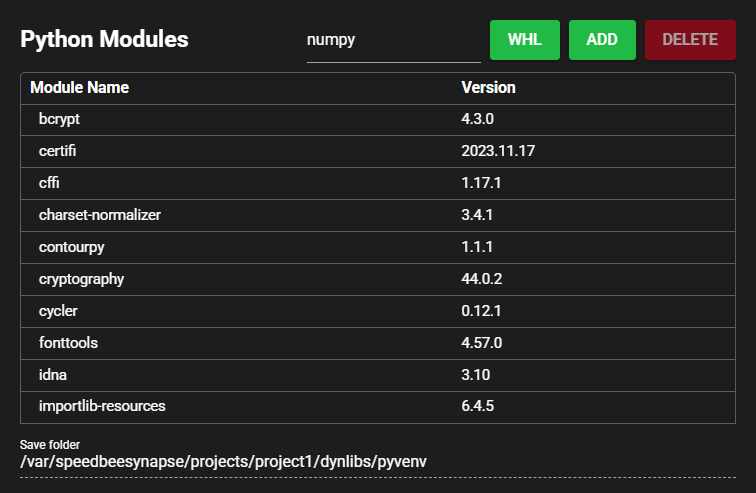
-
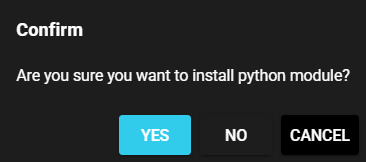
Press [Add] for the Python module.
-
Select [Yes] in the confirmation dialog.
-
The library is registered.
External Library Save Location
Registered external libraries are saved in the following directory:
/var/speedbeesynapse/dynlibs/pyvenv
The save directory is displayed in the [Save Location] screen item.
Add from .whl file
Press [WHL] for the Python module and select the .whl file.
pip version
The version of pip used to manage external libraries is displayed in [pip version] under [Python Basic Info].
5.1.2.5.9 Deleting External Libraries#
You can delete an added external library from SpeeDBee Synapse using the following procedure.
-
Press the Setting Menu icon and choose [Custom Components].
-
Select [Dependencies (Python)] in the tab at the top of the dialog.
-
Click the library you want to delete.
-
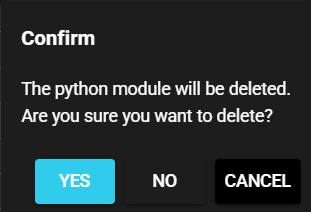
Press [Delete] for the Python module.
-
Select [Yes] in the confirmation dialog.
-
The library is deleted.